How to Use Google Antigravity IDE: AI Agents Build Apps
Summary
Learn to set up Google Antigravity IDE and use multi-agent AI workflows to build apps without heavy coding.

What is Google Antigravity?
Google Antigravity is a free AI-powered code editor (IDE) where AI agents write, test, and debug code for you. Think of it as having a team of AI developers working on your project at the same time.
Who is this for? Beginners, non-coders, and developers who want to ship faster.
What you'll learn: Install Antigravity, configure agents, and build a working app using plain English instructions.
Time needed: ~15 minutes
Prerequisites
- A personal Gmail account (Google Workspace accounts not supported yet)
- Windows, macOS, or Linux
- Chrome browser installed
Step 1: Download and Install
- Go to antigravity.google/download
- Select your OS (Mac .dmg / Windows .exe / Linux .deb)
- Run the installer
- Launch Antigravity
Step 2: Sign In and Initial Setup
- Sign in with your personal Gmail account
- Choose a theme (Dark/Light) — or import settings from VS Code or Cursor
- Configure two key settings:
| Setting | Option | What It Does |
|---|---|---|
| Terminal Permissions | "Request Review" | Agent asks before running commands |
| Artifact Review Policy | "Pause on Major Changes" | Agent pauses before big file edits |
Recommended for beginners: Keep both on "Request Review" so you stay in control.
Step 3: Understand the Two Views
Antigravity has two main interfaces:
Editor View
Your standard code editor. Write code, get autocomplete suggestions, and chat with AI in the sidebar.
Manager View (Mission Control)
This is where the magic happens. You type a task in plain English, and Antigravity assigns AI agents to complete it.
How to switch: Click the toggle icon in the top-right corner of the window.
Step 4: Run Your First Mission
- Open Manager View
- Click "New Mission"
- Type your task in plain English
Example Input:
Build a landing page with a hero section, feature cards,
and a contact form. Use HTML, CSS, and JavaScript.- Click "Run"
- Watch the agents work in real time
Example Output: Antigravity creates 3 files:
index.html    — Page structure with hero, cards, contact form
styles.css    — Responsive styling
script.js     — Form validation logic
Each agent shows its progress as visual artifacts (plans, code diffs, screenshots).
Step 5: Review and Approve Changes
Agents pause at checkpoints and show you:
- Task Plan — What the agent intends to do
- Code Diffs — What lines will change
- Browser Screenshots — How the result looks
Click "Approve" to continue or "Edit" to give corrections.
Example correction:
Change the hero background color to dark blue (#1a1a2e)
and make the CTA button larger.
The agent updates only what you asked — no full rebuild.
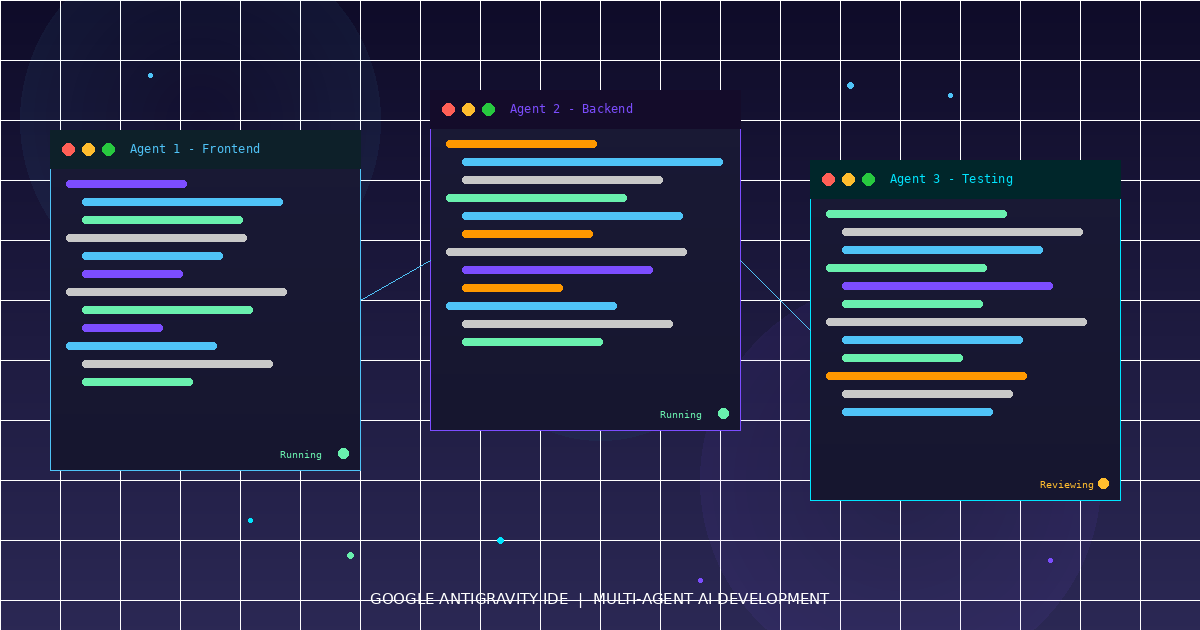
Step 6: Use Multiple Agents in Parallel
This is Antigravity's biggest advantage. You can run up to 5 agents simultaneously.
Example Mission:
Agent 1: Build user authentication with Google OAuth
Agent 2: Write unit tests for the auth module
Agent 3: Create a dashboard page with charts
Agent 4: Set up a SQLite database for user profiles
Agent 5: Write API documentation in Markdown
Each agent works independently and reports back when done.
Step 7: Choose Your AI Model
Antigravity supports multiple AI models. Assign different models to different agents based on the task.
| Model | Best For |
|---|---|
| Gemini 3.1 Pro | General coding, planning |
| Gemini 3 Flash | Quick edits, fast iteration |
| Claude Sonnet 4.6 | Nuanced logic, debugging |
| Claude Opus 4.6 | Complex architecture |
How to change: Click the model name next to any agent in Manager View and select from the dropdown.
Step 8: Test with the Built-In Browser
Antigravity has a built-in Chrome-based browser. Agents automatically:
- Launch your app in the browser
- Take screenshots of the result
- Report visual bugs they find
You don't need to manually open a browser to test.
Pricing Quick Reference
| Plan | Cost | Requests/Day |
|---|---|---|
| Free | $0 | ~20 |
| Pro | $20/month | Higher limits |
| Ultra | $249.99/month | Maximum access |
The free tier is enough to try everything in this guide.
Common Mistakes to Avoid
- Vague missions — "Make a website" is too broad. Be specific about pages, features, and tech stack.
- Skipping reviews — Always check agent output before approving. Agents are good but not perfect.
- Too many agents on small tasks — One agent is fine for a single-page component. Use multiple agents for multi-feature projects.
Quick Recap
| Step | Action |
|---|---|
| 1 | Download from antigravity.google/download |
| 2 | Sign in with personal Gmail, configure review settings |
| 3 | Learn Editor View (code) vs Manager View (agents) |
| 4 | Type a mission in plain English and hit Run |
| 5 | Review agent output at each checkpoint |
| 6 | Run up to 5 agents in parallel for bigger projects |
| 7 | Pick the right AI model per task |
| 8 | Use the built-in browser for testing |
Next Steps
- Try building a todo app with authentication as your first real project
- Explore AgentKit 2.0's 16 specialized agents for frontend, backend, and testing
- Connect your GitHub repo directly to push code from Antigravity
Comments
Be the first to comment
Found this useful?
Get new AI guides for builders by email. Free.